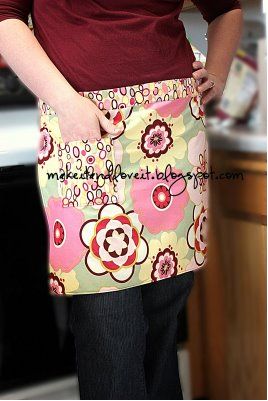
Materials:
- Fabric pieces18" X 25" inches (main piece)
- 4" X 25" inches (waistband)
- 2 pieces - 4" X 35" inches (ties)
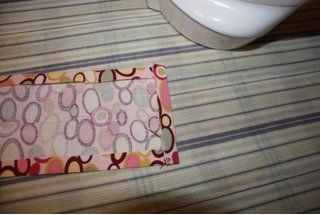
- 6" X 8" inches (pocket)
- Coordinating thread
- Scissors, sewing machine, etc.
Instructions:
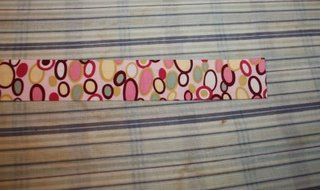
Start by making the ties. Sew along the long side, with right sides together. Curve your seam at one end, if you want, to give it a more finished look.
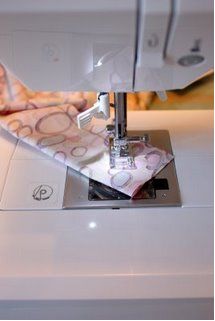
Like this. Then trim. Turn them both right side out. Iron flat.
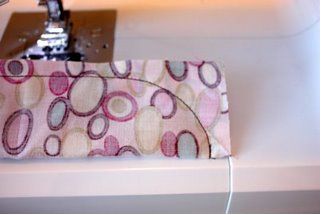
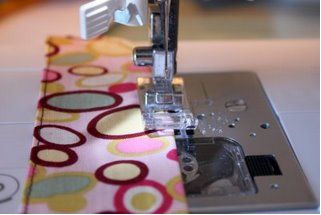
Top-stitch really close to the edge, all the way around both ties.
Next, fold over the long edges of your waistband, about 1/4 inch. Iron. Then fold over the ends a 1/4 inch and iron.
Then fold the whole waistband in half lengthwise and iron.
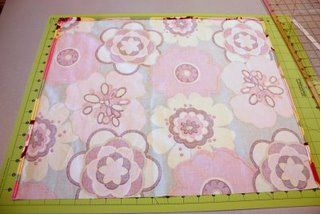
Next, your going to sew around 3 edges of the main piece. The 2 sides (shorter sides) and the bottom (one of the longer sides). Turn under each edge a 1/4 inch, and then 1/4 inch again. Sew.
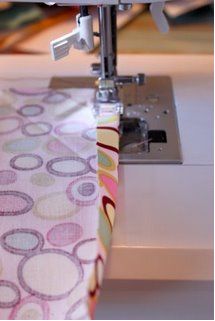
See all 3 sides that are sewn?
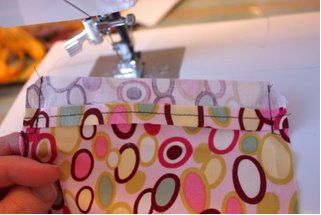
Next, lay your main piece right side up with the unfinished edge at the top. Align your waistband up at the top.
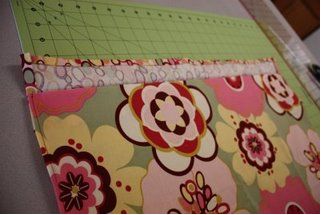
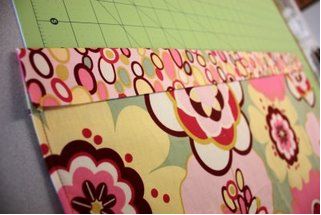
And fold the other half of the waistband over the top. Pin in place and sew close to the bottom edge, leaving the 2 ends open.
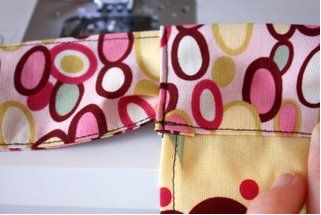
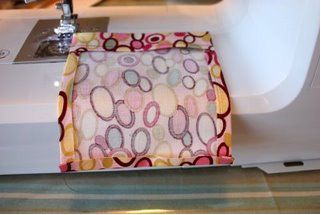
Next, your going to attach the 2 ties to each end. But first, you'll need to fold each unfinished end just a little bit so that it will fit nicely into the opening. If you'd rather not do this, just make your strips 4 x 34 inches (instead of 4 x 35) and they should slide right in without folding. I just like the look of it.
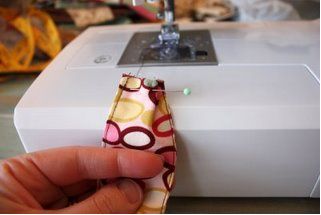
Then sew close to the edge to secure the ties in place. Cute, right?
Lastly, the pocket. Fold over the top edge (one of the shorter ends) 1/4 inch with wrong sides together. Then flip that sewn edge back and fold over 1 inch with right side together. Sew along the edge, 1/4 seam allowance. Trim the corners.
Then turn that section right side out. This is the top of your pocket. It makes it all nice and neat looking.
Now fold the 2 sides in 1/4 inch and then fold the bottom up 1/4 inch. Iron into place.
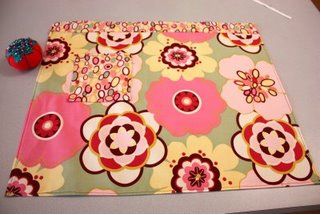
Then pin your pocket onto your apron. (You'll notice my ties aren't sewn on yet. I did it in a different order.)
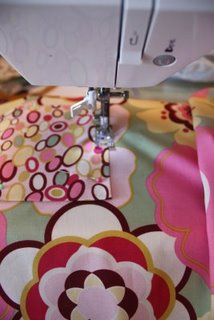
Now, sew around the sides and bottom of the pocket to secure it to the main section.
Notes:
Use 1/2 inch seams unless otherwise noted.


No comments:
Post a Comment
Please feel free to comment on any of my posts!