If you want to do you own christmas cards this year then here is a simple way for you to do that! And you can personalize them any way you like!
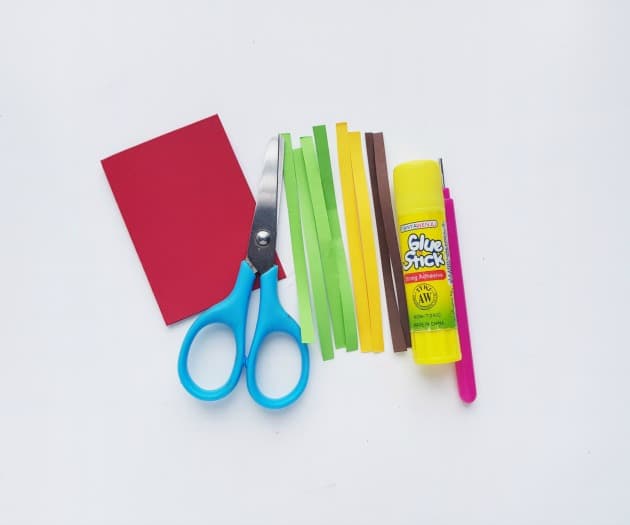
DIY CHRISTMAS CARDS SUPPLIES:
- Paper quilling strips
- Slotted quilling tool
- Cardstock paper
- Scissors
- Craft glue
DIY CHRISTMAS CARDS INSTRUCTIONS
Step -1:
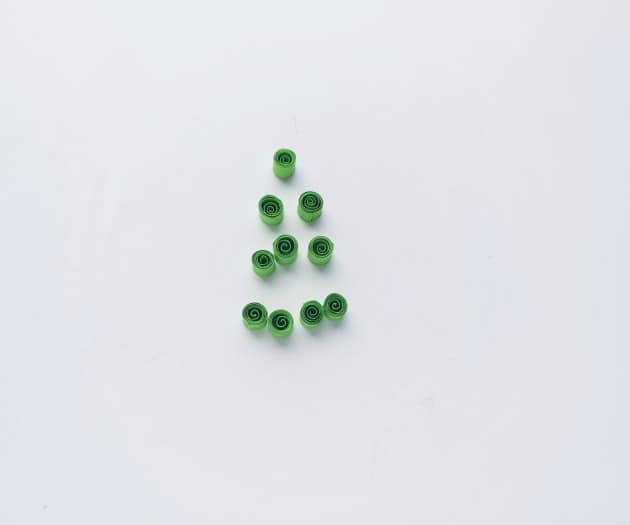
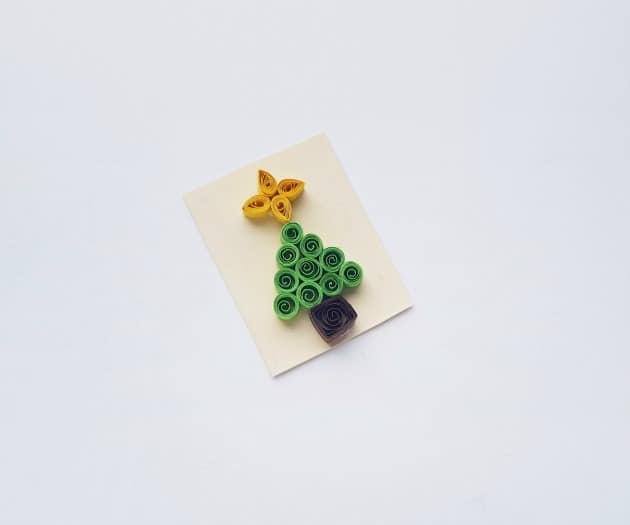
To start, you can sketch a simple outline for the quilled patterns. To make the quilled Christmas tree I’m using 10 loose coils, 4 teardrop shapes, and 1 square shape.
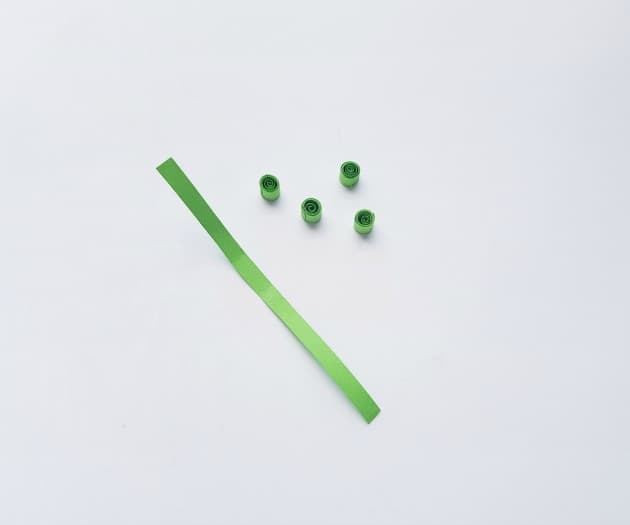
Select green colored quilling strips and prepare them all into the same size. Use the green strips to make loose coils.
Step -2:
Try to keep the size of the green loose coils as even as possible.
Step – 3:
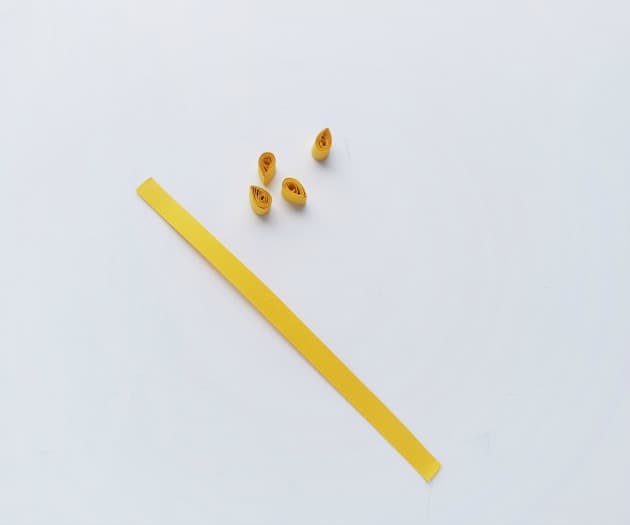
Grab 4 yellow colored strips for the star. Or you can also select any colored strip as you want. Use the yellow strips to make teardrop shapes.
Step – 4:
Done making the teardrops? Prepare a piece of cardstock paper into any size you want but make sure that the quilled art would fit nicely on it. Your Christmas cards will look amazing!
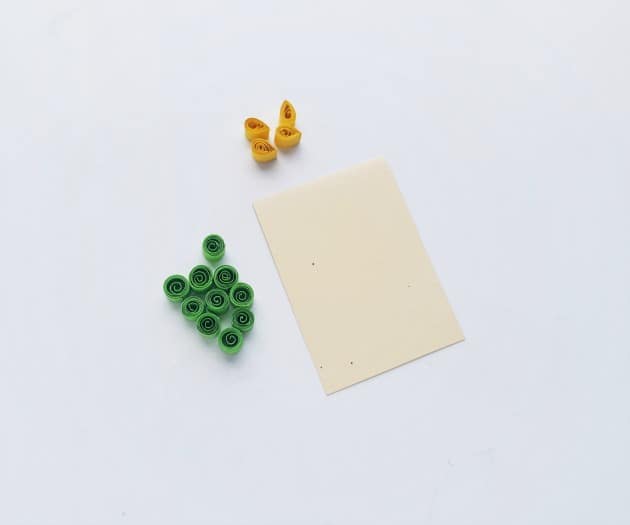
Step – 5:
You can either apply glue on the cardstock paper or apply glue on the backside of the quilled pieces. To create the tree pattern I’m attaching 4 loose coils on a row near the bottom side of the cardstock paper.
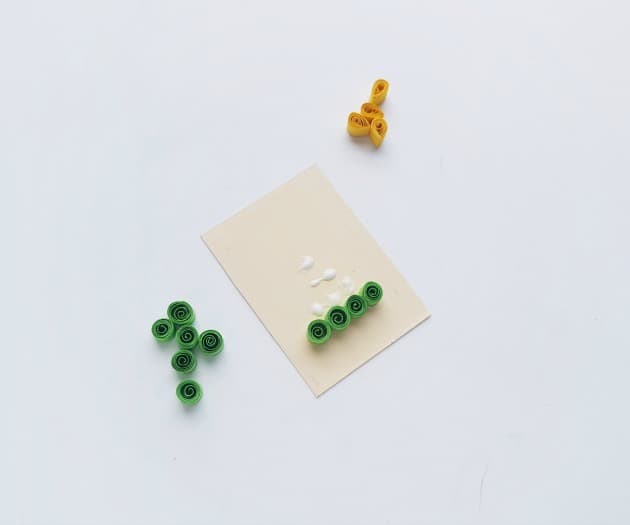
Step – 6:
And then I’ve attached 3 loose coils to the next row on the top of the bottom one. For the third row, I’m using 2 loose coils and then finally 1 loose coil on the top.
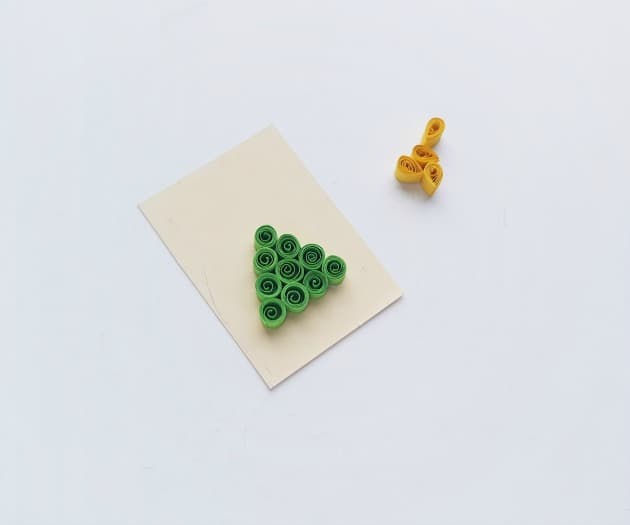
Step – 7:
Attach the 4 teardrops on the top end of the quilled tree. Use the 4 teardrops to form a 4 point star.
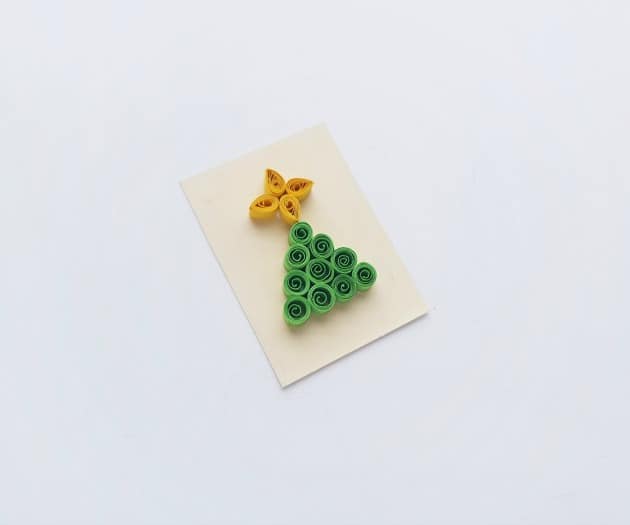
Step – 8:
And lastly, prepare a square quilled piece from a brown colored quilling strip and attach it on the bottom side of the quilled tree.
Step – 9:
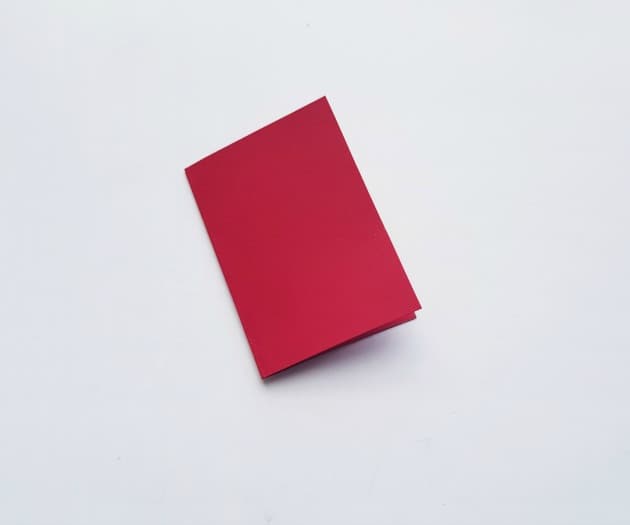
Select a colored cardstock paper of your choice and prepare a Christmas card from it. The card should be at least a cm bigger on all sides from the quilled art cardstock paper.
Step – 10:
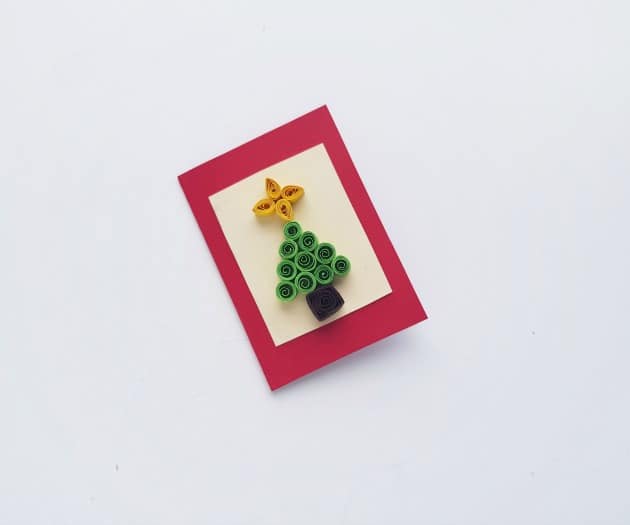
Attach the quilled art cardstock on the front side of the card. Allow the glue to dry.
You can also create more simple quilled patterns and make other Christmas cards with them.
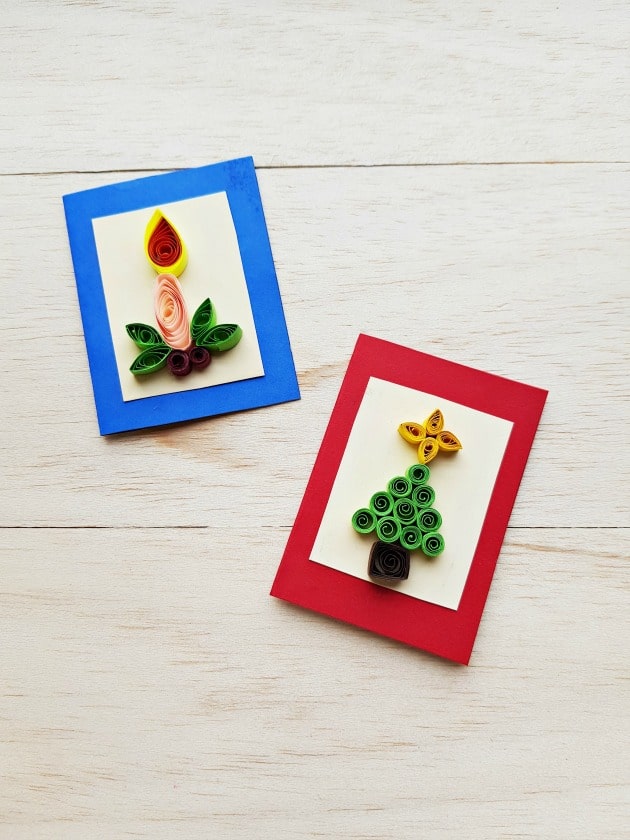 I hope you enjoy making these cards this year!


No comments:
Post a Comment
Please feel free to comment on any of my posts!