Any of these crafts a soldier would love from a child. They are not fancy but as everyone says,"It's the thought that counts." Any soldier would be happy that they were thought of one this day and would appreciate a gift. Our soldiers past and present deserve to be recognized for their hard work and loyalty for this country. So spend some time thinking about them, spending time with them, or giving them a gift to show you appreciation for them and their service.
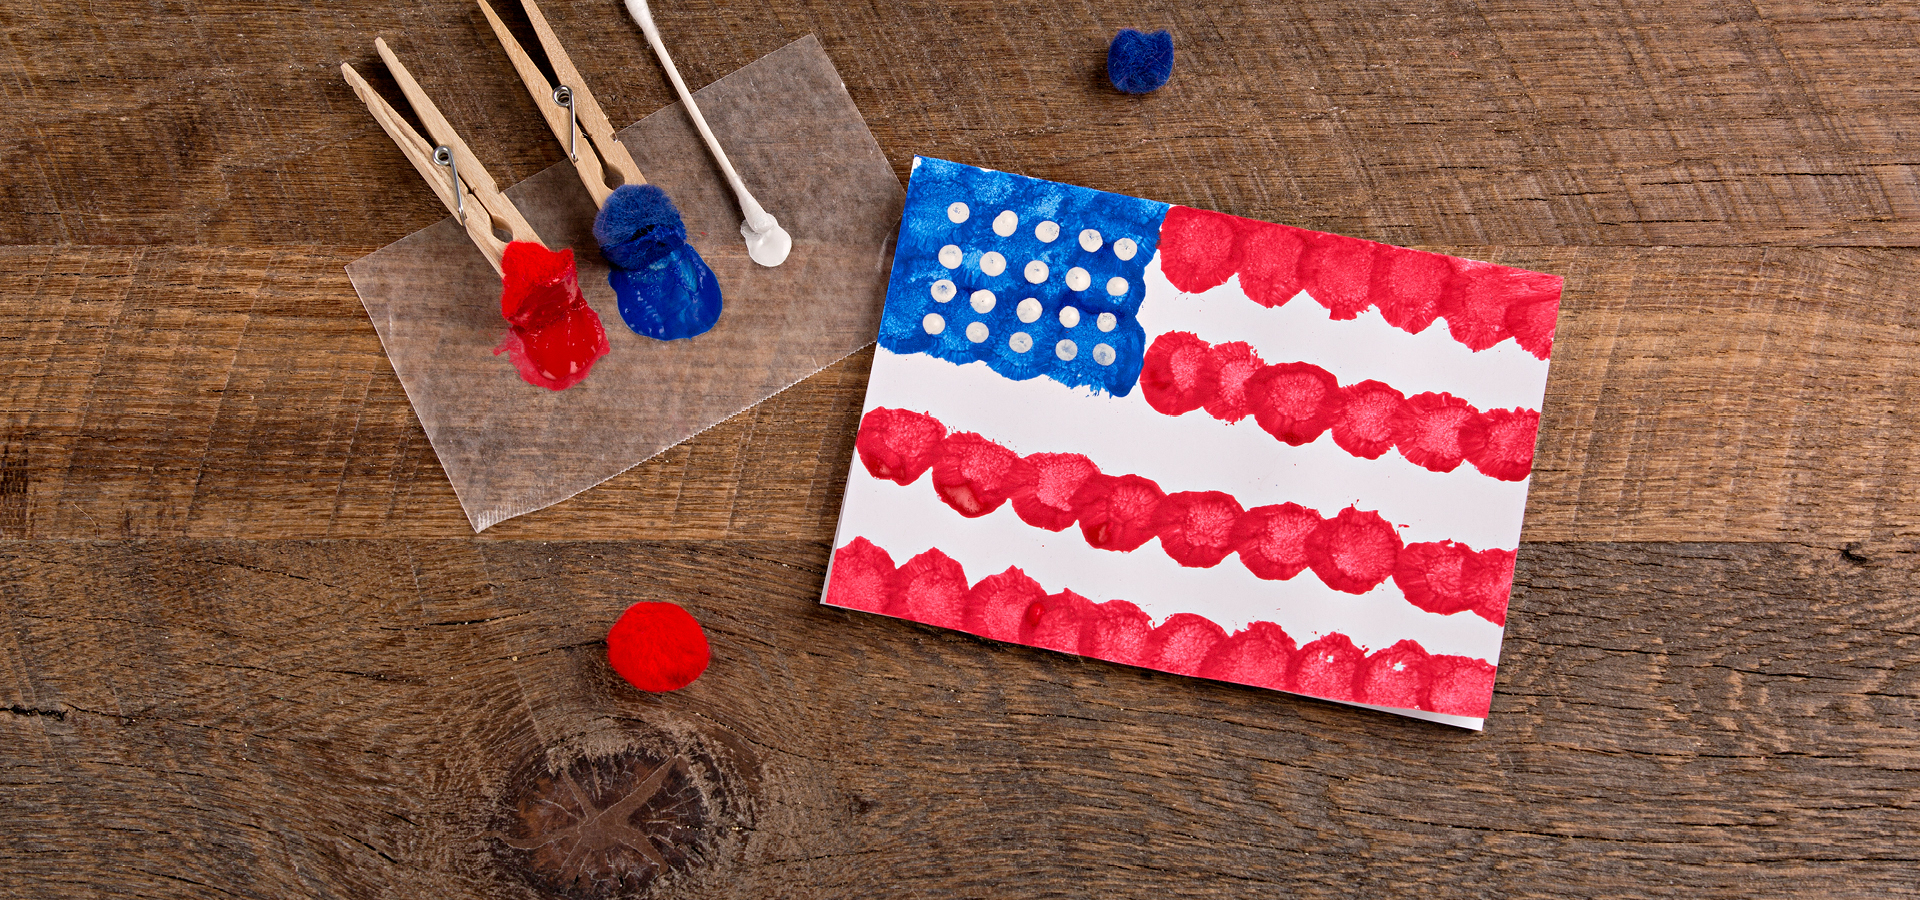
Pom-Pom flag card
Your children will have fun creating this easy-to-make card, which they can then mail to a soldier to brighten his or her day.
Directions:
- Cut and fold the cardstock to make a 5 x 7-inch card. Then then draw the flag shape on the card.
- Use the clothespins to hold the pom-poms. Put some blue and red paint on the wax paper, and use the pom-poms as stamps to color in the flag. Repeat until the blue and red sections are complete.
- When the blue area is dry, use the cotton swab to dab on the white stars. When the entire card is dry, write a letter on the inside, and send it to a soldier.

Flag handprint letter
Nothing says you care like face-to-face interaction, so have your kids make this craft and hand-deliver it to a local veteran.
Directions:
- Start by painting a blue square on the palm of your child’s hand, and then paint white and red alternating stripes down the fingers.
- Press the hand down onto the blue paper to make a print. Once dry, add a star to the blue area using the white paint marker.
- Trim the edges of the blue paper so that it’s slightly bigger than the handprint, and glue it in the middle of the red paper so it looks like a frame. When the page is dry, write a letter on the back, and give to a local veteran.
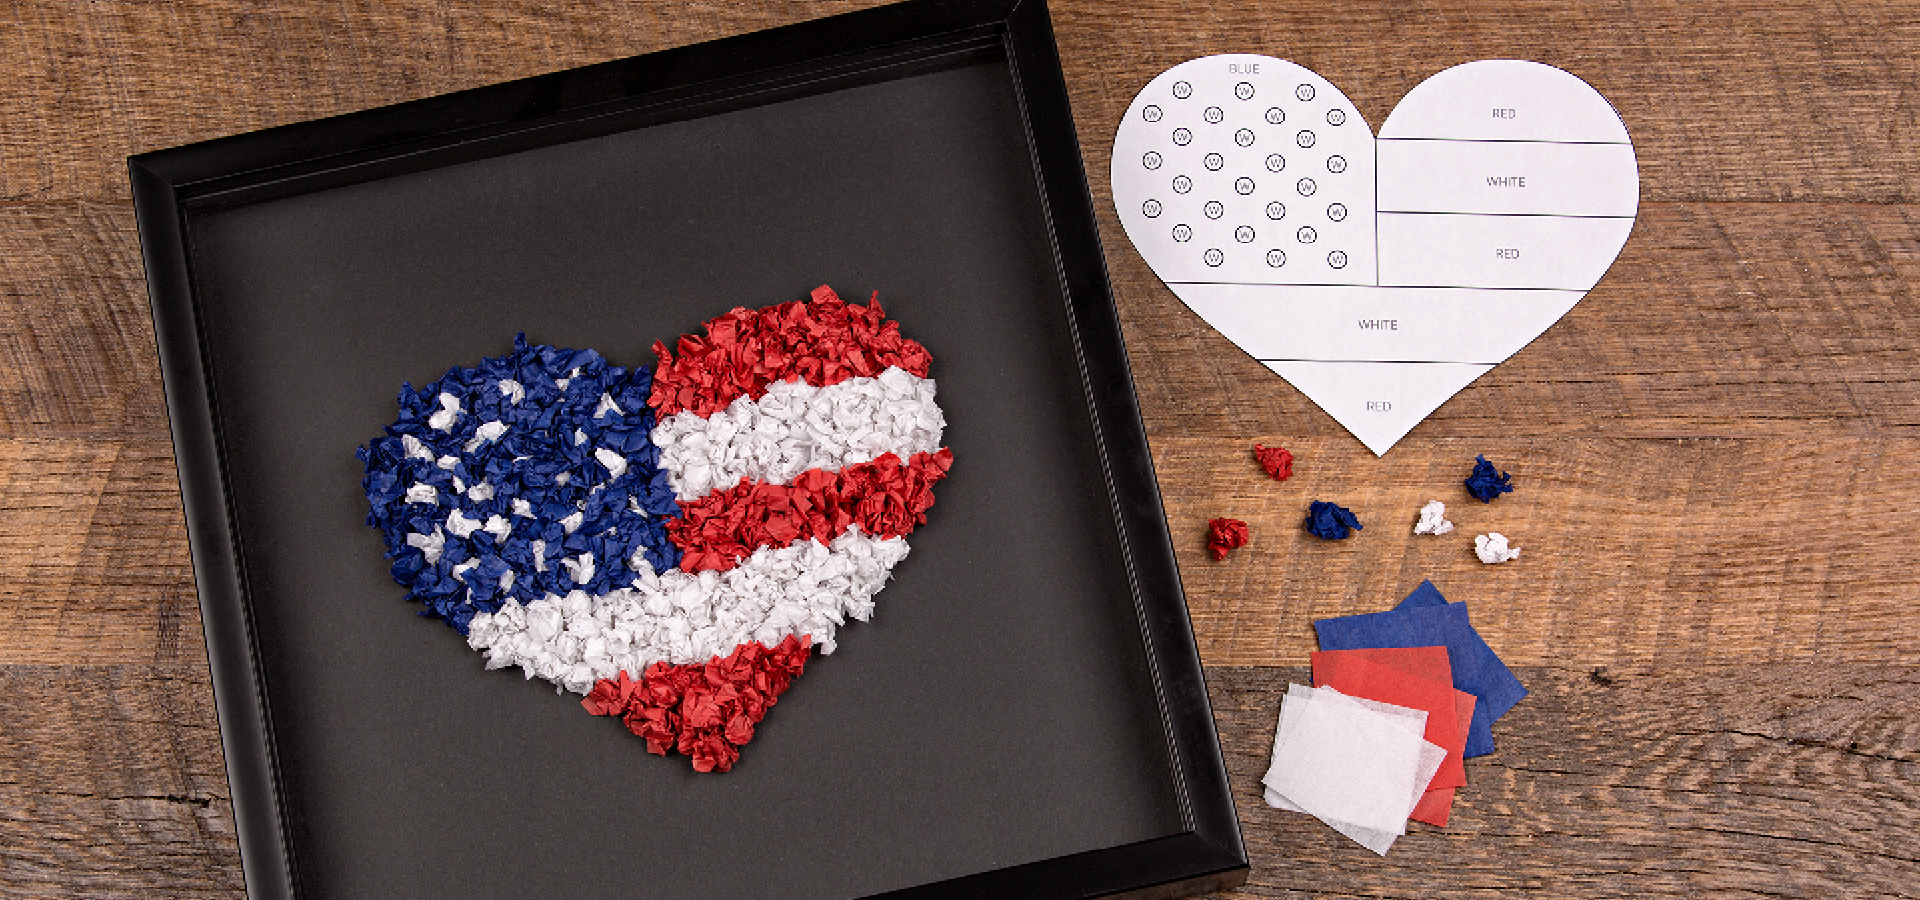
Tissue paper flag art
Show support on the home front by helping your kids to create this flag art, which will be a daily source of patriotic pride for the entire family!
Directions:
- Download and print out the heart flag template.
- Cut carefully around the heart to eliminate the black line, and glue to the center of the cardstock.
- Roll the tissue paper into balls. Once a small pile has formed for each color, begin gluing the tissue paper onto the color-coded sections of the template. Note: For best results, we recommend using the white tissue paper first.
- Place the balls of tissue on the glue without spaces. Repeat this process until the whole heart is filled. Once filled, frame it and display it to show your support.


No comments:
Post a Comment
Please feel free to comment on any of my posts!